In this article you will find...
Create webinar in the event set up
Installation guide
- Log in to your Checkin account
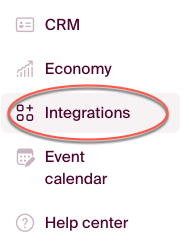
If you don't have a Checkin account, create one here - Once logged in, go to "Integrations" in the left side bar and choose "Zoom".
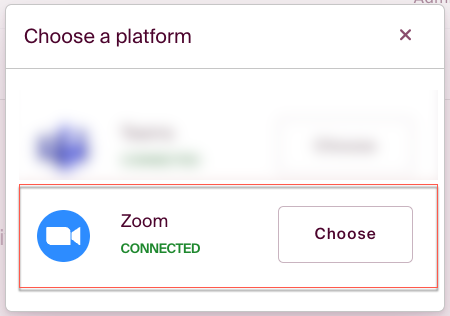
4. Choose "Connect" if you are not yet connected.
You will then be taken to log in for your Zoom account.
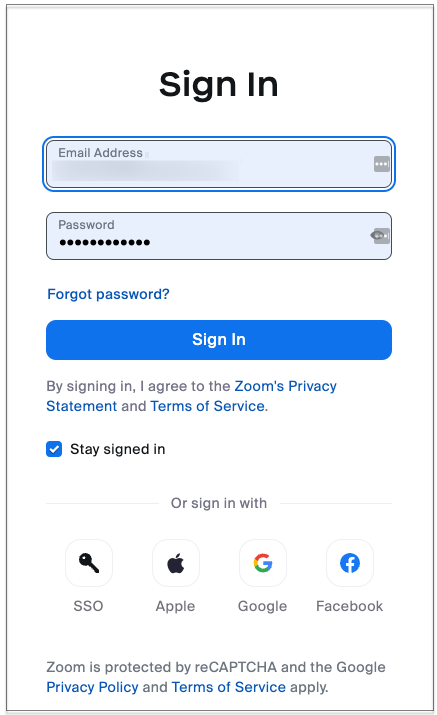
5. Make sure you are connecting with the preferred e-mail address.
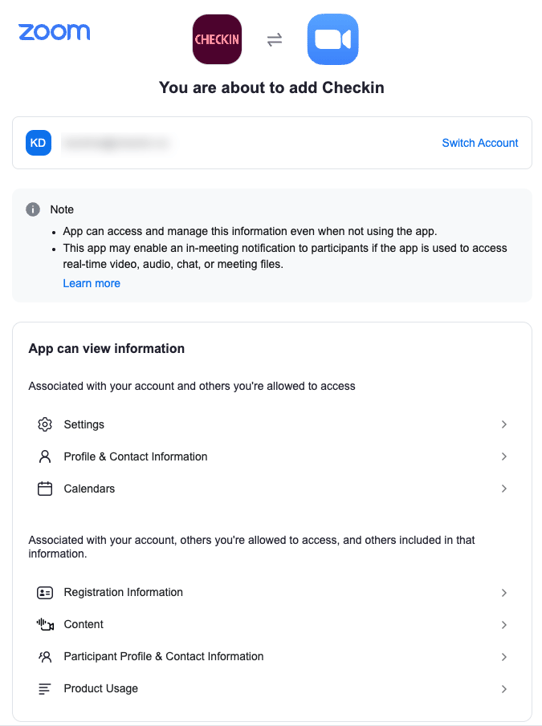
6. Please click "Allow" in order to succeed the installation.

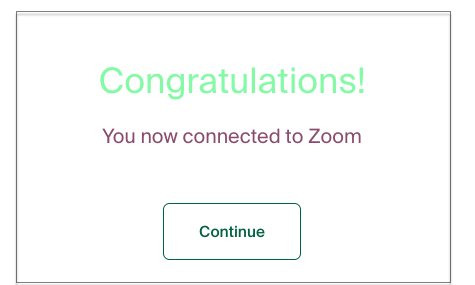
7. You are now connected to Zoom.
Note! It is very important that you choose the correct price plan in Zoom before you go live with your event. There are different plans with different settings in regards to the number of attendees, length, and other features. You will find an overview of the plans and features here:
Create webinar in the event set up
- Go to Events in the left menu and select an existing event or create a new one.
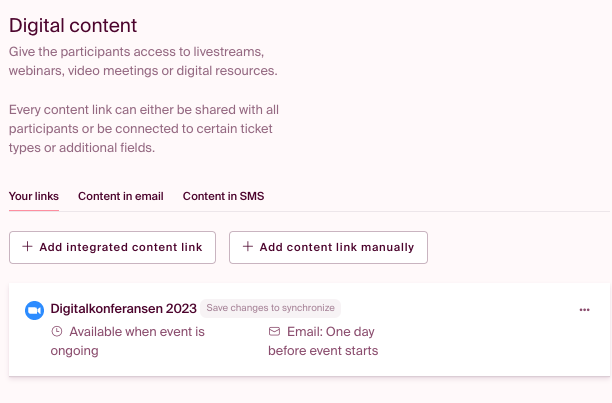
- Select "Setup" and then the "Digital content" step in the navigation bar.

- Click "Add integrated content link" and click "Choose" on Zoom.
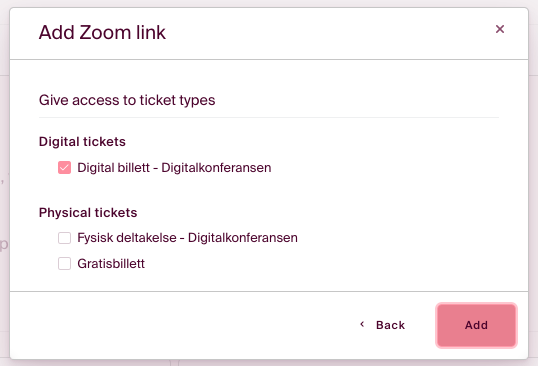
- Add the zoom link by Filling out the title og your event, type, time, and set the link distribution settings.
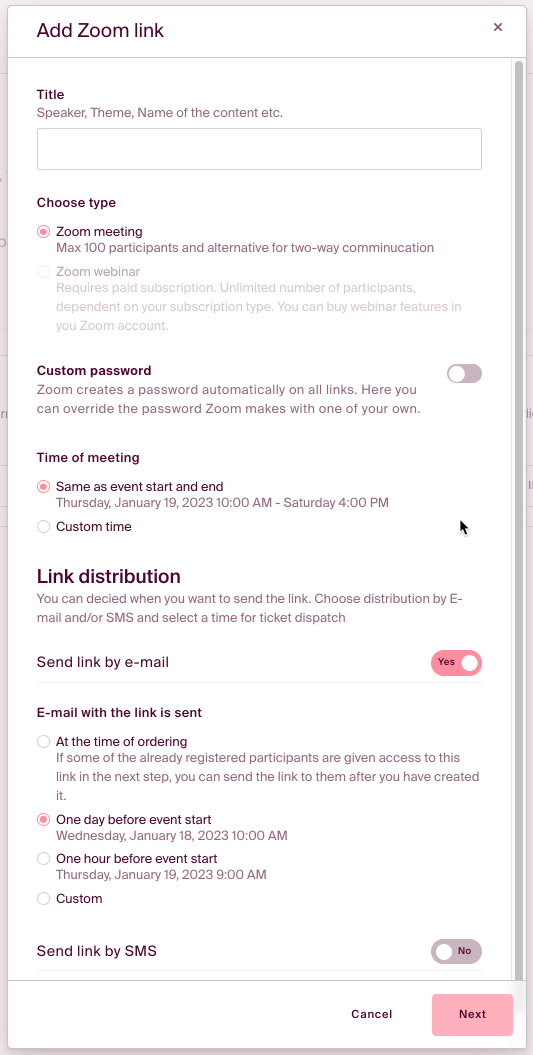
- Choose which tickets will include the digital content link. If you let the physical tickets have the link as well, they will both receive the "physical" ticket with QR code and the digital meeting link.
- Webinar is now created and should now be visible in Zoom. You will be able to see the event in the set up.

Editing the webinar
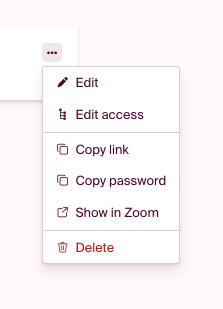
- To edit a webinar, you go to the same webinar page as above. Press the button
 to edit the meeting or webinar.
 - Choose the action you want to perform.
- Make your changes and press "Save and publish". Please make all changes from Checkin, and not from Zoom. Changes from Checkin should be visible in Zoom.
Note: We would not recommend to do changes after the meeting link has been sent out. Please arrange your Zoom plan before you create the event link in the first place. Changes in subscription can influence the link distribution.
Deleting the webinar
- To delete a webinar, you go to the same webinar page as above.
- Click delete. This will delete the webinar in Zoom as well!

How are attendees invited to the webinar/meeting?
This is done automatically when a participant is registered for an event.
If you add a webinar/meeting after an attendee is registered, they will be invited as soon as the webinar is synced to Zoom.
Contact support
If you experience any kind of trouble, you can send an e-mail to support@checkin.no, and we will answer you within 48 hours, mon-fri.