If you have multiple upcoming events and want an organized way to display them on your website, you can use Checkin's event calendar. The event calendar can be embedded into your existing website with the appearance and functionality you desire. There are a few things to consider before copying and pasting the code into your own page.
How to display events in the calendar
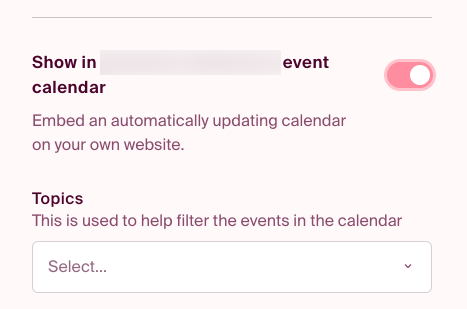
You choose which events to display in the calendar for each individual event. Go to "Setup" and then to "Publishing," and check the option "Show in the event calendar" for the events you want to include.
Categorization of events
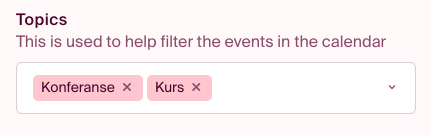
To filter your events by type or theme, you can assign them categories. This field is visible when you have made the event visible in the calendar under Setup › Publishing › Categories.
Categories are saved and can be reused for multiple events, so they appear in the same category in the calendar.
 Customize the appearance and functionality of the event calendar
Colors
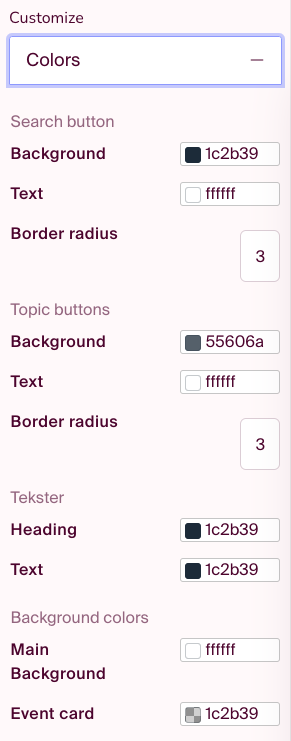
To customize the event calendar's colors and functionality, go to "Event Calendar" in the left-hand menu.
Under "Colors," you can adjust the appearance of buttons, texts, and backgrounds to match your website. The format for color fields is in hexadecimal (e.g., #f5f5dc). You can paste color codes or click on the color square to open the color picker. Changes are previewed in real-time on the right.
The "Border Radius" allows you to round the corners of search and category buttons. Higher values result in larger radii.
You can find many articles and tools via a Google search to help you obtain accurate hex codes from your website.
Important note: All changes to the calendar's functionality and/or color modifications should be made before integrating the calendar into your website.
Functions
Under "Features," you can enable or disable functionality in the event calendar. The preview on the right will reflect the choices you make.
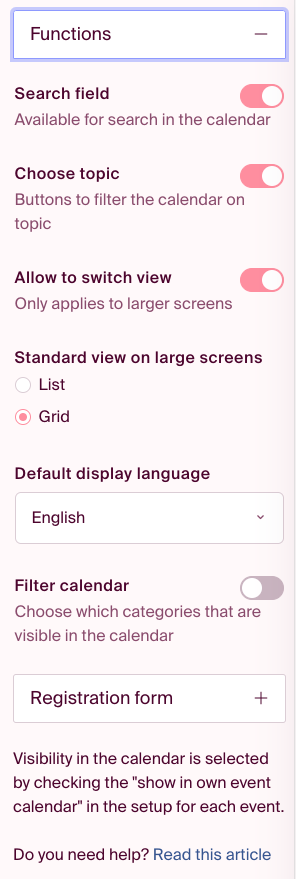
- Search field: Turn on or off the ability to search for events in the calendar.
- Choose topic: Hide or show categories in the calendar. Categories are set up for each individual event in the setup. Only categories associated with active events will be displayed in the calendar.
- Allow to switch view: Hide or show the option to switch between list and grid views.
- Default display language: Choose whether events should be displayed as a list or grid on large screens. On mobile-sized screens, a view equivalent to the grid on large screens is always used.
- Language: Choose whether the calendar should be displayed in English or Norwegian.
- Filter calendar: Turn on or off the ability to hide categories from the calendar.
- Select visible topics: The calendar is filtered so that only events with these categories are displayed in the list and search.
Registration form
Under "Registration Form," you can choose how the registration form should be displayed.
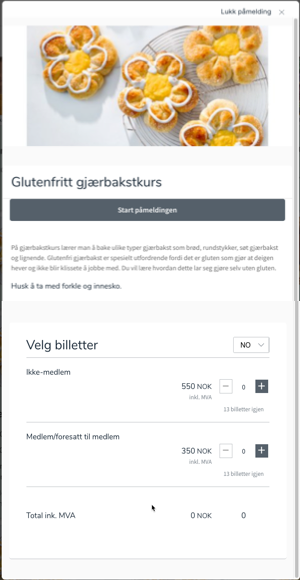
By default, the registration opens in a pop-up window above the calendar. In this window, the image and description of your event will be displayed, and at the bottom of the window, the registration form for the event will be present.
If you do not wish to display the image and description in the pop-up window, you can choose "Show registration form only."
Alternatively, you can opt to open the registration in a new tab. In this case, visitors will be directed to the landing page for registration, which includes the banner image, description, and information about the event.
Preview
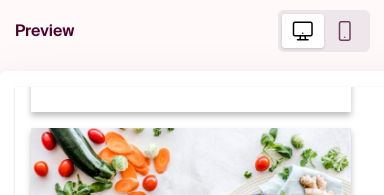
In the preview on the right-hand side, you can always see the changes you make in colors and features. You also have the option to see how your changes look on large screens and on mobile devices by clicking on the icons provided.
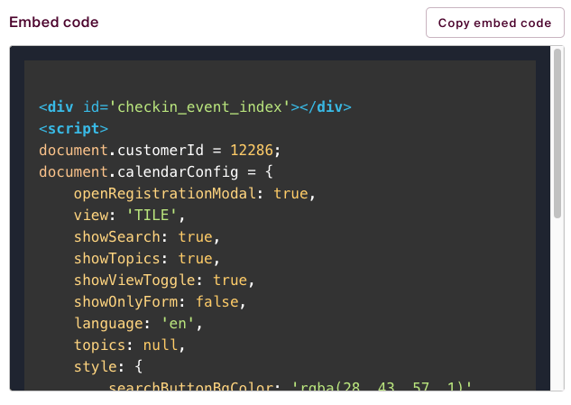
Embed the calendar
To embed the calendar on your website, you can click "Embed" in the upper-right corner of the preview. The code you copy will include all the colors and features you have selected. Copy and paste this code to your website, please remember to use a "HTML" block, not a regular text field.
The setup is not saved
Important note: None of the customizations are saved in the configurator, so if you close the browser tab or navigate to another page, you will have to make any customizations again. Therefore, it can be wise to save the embed code elsewhere in case you need the same customization later.
If you want to make changes after you have embedded the code on your own website, you will need to create a new embed code. Changes made in the configurator after embedding the calendar will not affect the calendar.
If you do not have experience with coding, embedding the calendar may require some technical skills. If you are unfamiliar with this topic, we recommend seeking assistance to ensure a successful integration.